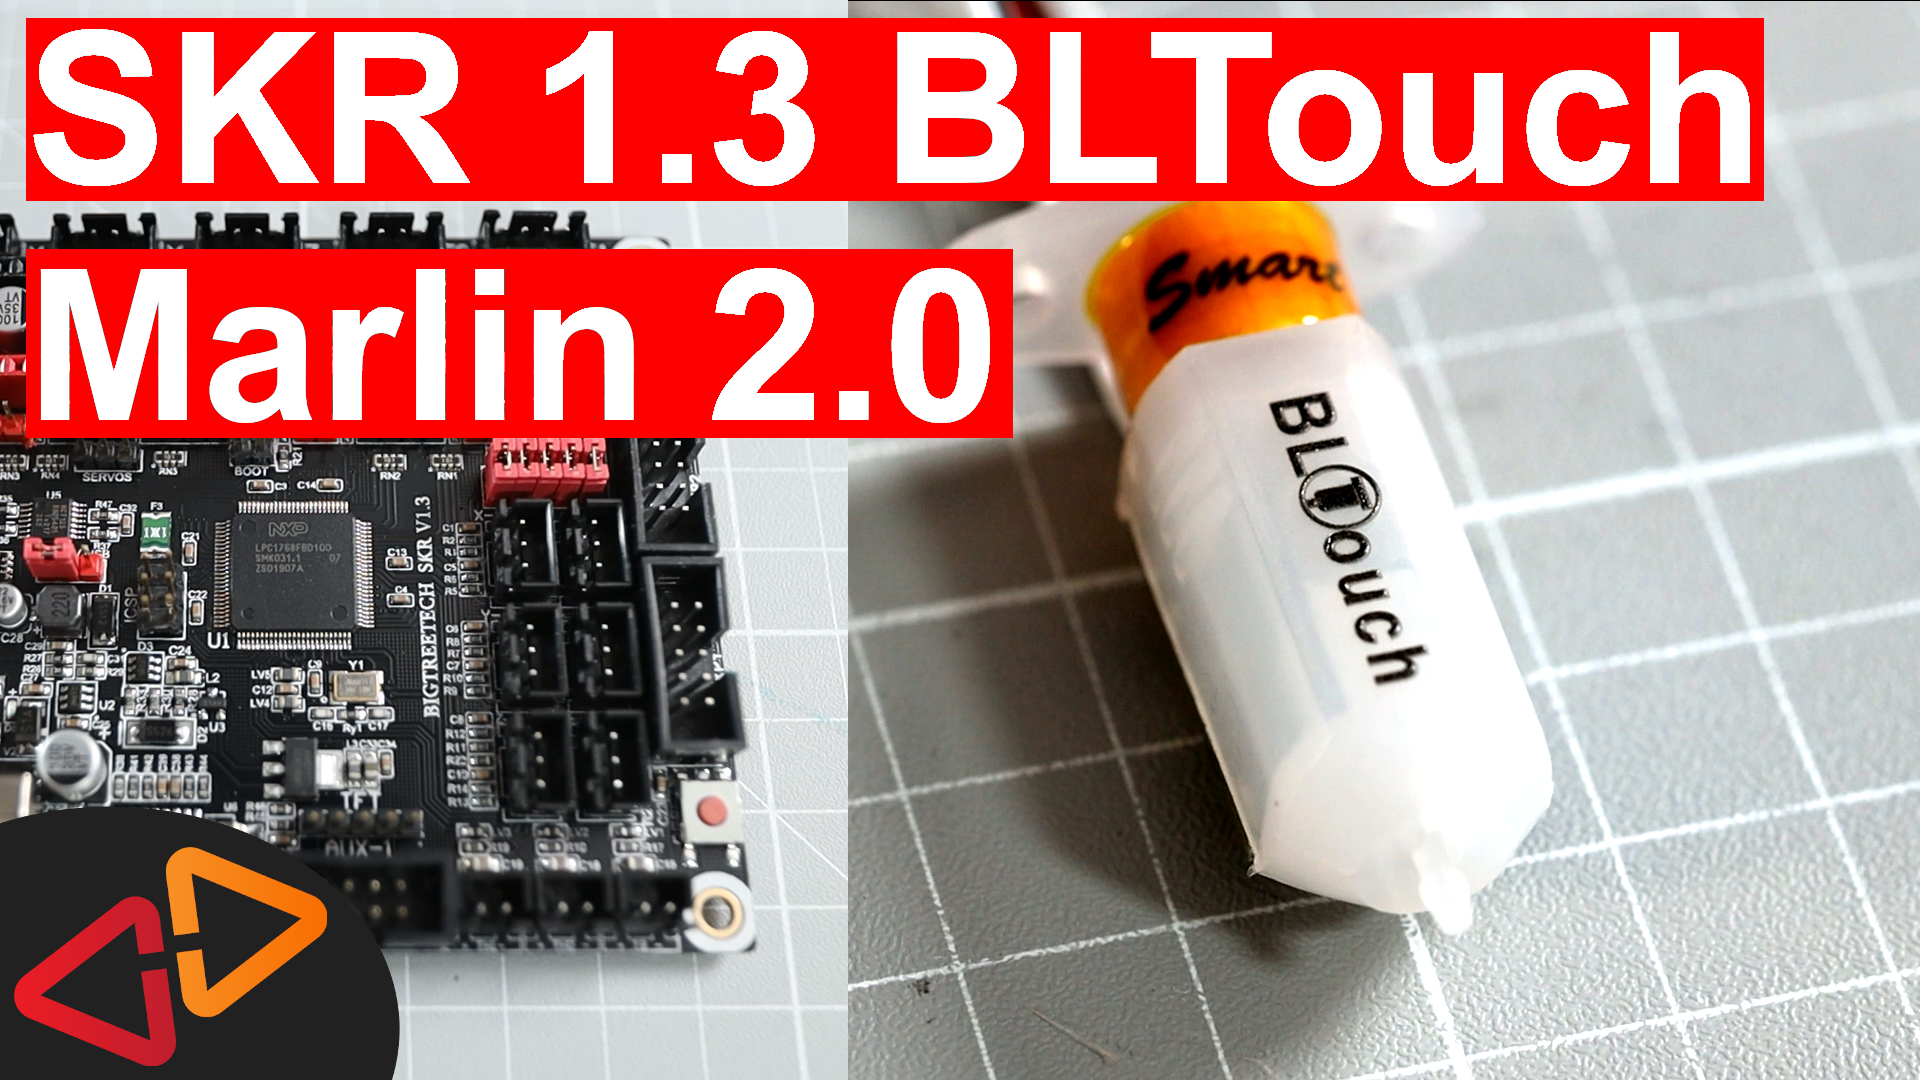
In this guide, I'm showing you how to use the BLTouch or similar sensor with the SKR 1.3 and Marlin 2.0.
Hello, my name is Daniel, welcome to the CrossLink channel. Our mission is to help 1 million people getting more successful with 3d printing and if you're here for the first time, subscribe and enable bell notifications so you don't miss anything.
This is part 3 of my SKR 1.3 build, just in case you've missed the first two parts where I talk about the hardware installation and the Marlin 2.0 configuration, I've put the links in the description.
Today, I am installing the BLTouch sensor on this printer and connect it to the SKR 1.3, then we're configuring Marlin 2.0 to support the sensor and enable Auto Bed Leveling.
My BLTouch is an original BLTouch Smart version 3.0 from Antclabs. I also have the 3D Touch here, which is a cheaper clone, that should also work with this setup. Basically, all the clones work similar and should work with this setup. There might be some differences in the Marlin configuration, but we'll talk about that later.
As every time, all the links to documentation and the parts that i'm using are in the description of this video.
A few words before you start because I think this is a common mistake that people make when they implement any kind of bed leveling sensor. Make sure that your printer bed is actually leveled correctly in the corners. So really take your time, level the corners so they are equally distanced from the nozzle and then start implementing auto bed leveling. Your print results will be much better and doing the fine tuning with auto bed leveling will be much easier if you do this upfront.
So, the first consideration when installing the BLTouch is where to mount it. I've chosen to mount it to the front of my Hemera extrusion system but depending on the printer model that you're using, there might be different mounting options available. This one is a modified version of my existing Anet A8 BLtouch mount, that I've also linked in the description together with some other alternatives.
A little tip upfront, before you start with your modification. If you still leave your old bed leveling sensor connected and mounted until we reach the end of this guide, it will make your life a bit easier, you will see.
The most important thing is that the BLTouch sensor needs to be mounted at a very specific height above the nozzle. Looking at the original Instruction manual from antclabs, the height difference between the nozzle tip and the bltouch tip when it's retracted can be between 2.3 and 4.3mm. So if we add those 4.3mm to the 4mm that the tip will about stand out from the housing, the bltouch housing's lower end should be 8.3mm away from the printbed.
So, the best way to check this is to print a leveling gauge, which is going to help to check and adjust the height of the bltouch prove vs. the printbed. If you print out this gauge and it's a bit too high, or it's not perfectly flat and clean, just sand it down a bit.
I tend to mount the blrouch at the most upper level that is possible and I tell you why, because I ran into several issues with bltouch probes being mounted too low just a little bit and running into printed parts that stand up a little bit because of warping and this can crack the bltouch needle.
So, how is the gauge used? First, you bring down the nozzle to the printbed. If you can still auto-home on your printer, use the auto home function for that. That's why I said in the beginning, leave it in place and connected, it might be useful later.
The alternative is to bring down the nozzle using the z-motors until it touches the bed and you might wanna put a piece of paper in between nozzle and bed because that is the distance, we're going for later in the final calibration.
Then, pushing the gauge underneath the bltouch should leave no gap. it should really touch the bltouch housing and sit there quite firmly. As I said, this is the most upper position it can be, so if the sensor is a little bit lower, it's ok.
Next, let's make sure we get our cables sorted out correctly. With the BLTouch normally, there come some extension cables, like these here. You really need them because as like the other cables, you need to route these cables the same way back to the mainboard and that might be quite a long distance like in this case.
Next, we connect the BLTouch to the SKR 1.3.
Here on the mainboard, we have two connections to do.
First, we connect the two pin connector with the black and white cables to the Z-Endstop slot. So, now it's time to unplug the old trigger switch.
Then, insert the two pin connector so the black cable is connected to the middle pin and the white is connected to the lower pin, which means facing towards the mainboards edge.
Now we have three cables left to connect, that's the sensor pins. Here on the SKR 1.3 a bit above this red jumper there is a three pin "servo" connector, that's the one we need to use for the BLTouch. Be aware that the pins are in a very specific order.
Seen from the left, the order needs to be red, brown, orange.
So, depending on what kind of extension cable you are using, this might either be easy like with this one, where the end that goes to the mainboard has three individual plugs that you can put in whatever order you like - OR - you might be getting or using a servo extension cable where the pins are fixed into the three pin connector here at the end so you might need to swap the cables to be in the right order.
You can also remove the old Z-Endstop switch now, we don't need it anymore.
So, hardwarewise, the BLTouch is installed and when you power on the printer, the BLTouch should at least make it's little up and down check. This will also tell you that the power is connected correctly.
Let's move on to the Marlin 2.0 configuration. And for this, I am using Visual Studio Code with the PlatformIO and Auto Build Marlin Extensions as in all of my previous videos about Marlin 2.0. I've linked a guide up here, where I expain the setup of the build environment just in case.
Also be aware that the line numbers I am mentioning might change over time as lines get added or removed to the configuration default files, so using the search function to find the options might be better.
So, In Configuration.h, we need to find the BLTOUCH option, which is here at about line 900. Enable that to tell Marlin, we are using this specific kind of probe.
Next, starting at around line 952, there is a section, which is really important and totally confusing for a lot of you and I can relate because the way how it is written here and described can be totally misleading. I even had to read it three times to get it, so let's really get it done correctly.
So what we want to fill in in the end is this NOZZLE TO PROBE OFFSET
So let's assume the nozzle is here, THIS is the front of the printer, THIS is the back of the printer.
Any position of the probe behind and/or to the right of the nozzle, is going to be positive values.
Any position of the probe to the left or to the front of the nozzle is considered to be a negative value.
So what you need to measure now is how much distance is there between the nozzle and the probe in each direction. So in my setup, the probe is to the front and to the left, so the values are going to be negative in both cases. And the amount of distance is 67 mm to the front and 0 mm to the left or right. So my final NOZZLE TO PROBE OFFSET is going to be 0 comma -67 comma zero. The third value is for a Z offset, which I'm going to ignore for now.
And don't enter it in the sample here but in the actual config line here below and don't ask why I'm saying this.
then there is MIN_PROBE_EDGE around line 976, a setting that defines how far away from the bed corners, the probing grid is going to be. Default is 10mm, which is fine.
MULTIPLE_PROBING here at about line 996 defines, how often the sensor will measure the distance per probing point. So, normally, the probe takes one distance measurement per point and then moves on to the next point. If you discover that the results have a lot of variance, doing more probes per point can improve the accuracy. I'm leaving it commented out for now.
Then, look for MIN SOFTWARE ENDSTOP Z, that should be around line 1133 and comment it out. This makes sure, we can calibrate the probe offset later correctly.
In about line 668 make sure, Z MIN PROBE ENDSTOP INVERTING is set to to true
and also check that Z MIN PROBE USES Z MIN ENDSTOP PIN in line 844 is enabled.
Next, we'lll go to about line 1216.
Here we find all the main switches to turn on different bed leveling options. So whatever is currently configured here for your printer, the only one we're going to enable for this tutorial is AUTO BED LEVELING BILINEAR. Every other option here should be disabled.
There's a fairly sophisticated option here, which is called Unified Bed Leveling. We'll touch that in another video for sure, but if you're just starting out, the bilinear bed leveling is totally good enough and much simpler to use.
Next, I am making sure that RESTORE LEVELING AFTER G28 is off, that's around line 1228, because that might have been enabled if I had MESH BED LEVELING enabled before. So if you are coming from that kind of setup, make sure it's commented out for this tutorial.
Let's move on to this section here around line 1241, where we wanna make sure ENABLE LEVELING FADE HEIGHT is enabled. Leveling fade height is a value that determines at what print height, the firmware starts gradually to remove the leveling corrections and that height can be configured later or it can also be disabled, so it will correct levels for the whole print, but normally above something like 10mm, leveling corrections are not neccessary anymore, they basically have no effect anymore. So we wanna make sure we have the option to fade out the bed leveling if we want to.
Ok, next, there is a section with more settings for the auto bed leveling here at line 1264. The GRID MAX POINTS setting defines how many probe points the software will do in the x and y dimensions. This is normally set to 3, means we get 3 by 3 points, resulting in a total of 9 probing points. If you increase that number, I would actually make sure that it is always an uneven number so the middle point is always probed for, otherwise if we do 4 by 4 for example, there will be no probing point in the very center. Also keep in mind that increasing that to a higher value will also increase the amount of time needed for the auto bed leveling process before your print will start. So anything beyond a 5 by 5 grid is probably not very useful but that's also individual for your kind of printbed. A glass pane might need less probing points than a metal sheet for example because the assumption is that the glass pane is more even and not so bumpy.
EXTRAPOLATE BEYOND GRID is another useful feature to enable. Let's assume that your bed is tilted and this is a very overexaggerated sketch. But let's say you only probe for these points here seen from the side and the tilt is not extrapolated to the outside, the assumption of the software would be that your bed looks like this. So let's just enable it, so it extrapolates that assumed tilt also for these outer points, just in case you like to print something really large.
Then, around line 1340, enable LCD BED LEVELING. This wil add a menu option for the printer menu to actually use and configure auto bed leveling from the printer menu, otherwise you only can use GCODE commands to configure anything.
Next, we need to enable Z_SAFE_HOMING at line 1385. This will make sure that running a G28 Homing command or an Auto Home from the printer menu will do this in the center of the bed. Otherwise, the sensor might be put in a position outside of the bed and so it will have nothing to trigger and run the carriage into the frame or the nozzle into the bed.
OK, that's all the changes for Configuration.h, let's move on to Configuration_adv.h.
We'll do some BLTouch settings here at around line 606 and below.
The first one is BLTOUCH_DELAY, which you might want to set to 500, this will make sending commands to the probe a bit more reliable.
Then, for most DIY printers where you have open electronics and unshielded wires, it makes sense to enable BLTOUCH FORCE SW MODE. That will make it more reliable.
In the comments of these settings there is sometimes mentioned whether the setting is meant to be for a specific version of the BLTouch sensor or if it should also work with clones like the 3D touch but there is also some settings here that are specifically only for the BLTouch v3.0 and 3.1. If you're not 100% sure that you have any of those, leave these settings untouched.
There is a so called 5 volt mode for the BLTouch smart version 3 and 3.1, which is supposed to create more reliable results or more precise measurings but I have to find out if that is really the case. I'm gonna leave it disabled for now, so I can also test the 3D touch clone sensor with the same firmware.
Good, let's compile the firmware and upload it to the board. If you missed my my video on how to do that with the
SKR 1.3, I've linked it up here for your reference.
If you run into another EEPROM error like me, you need to initialize your EEPROM from the printer menu and reset it once again.
So, the new firmware is installed on the printer, let's start by doing an auto home to see what's going to happen with the BLTouch installed.
The new thing you notice is that the printer does the z-homing with the probe in the middle of the bed. If you see that the homing is done with the nozzle in the middle of the bed, you probably have not set your Nozzle to probe offset correctly. If you fix that, you might also need to initialize the eeprom again.
What we should do now is to setup the z-offset, that's setting how close we like to have the nozzle to the printbed when it is at zero height.
First, heat up the nozzle and bed to your normal printing temperature, for me that's 215 for the nozzle and 60 for the bed.
Then, do an auto home again.
Now, let's bring down the nozzle to the printbed using the Motion - Move Axis - Move Z Menu. I am using 0.1mm steps and will move the nozzle down until it touches the paper sheet and I can feel some resistance.
So, you wanna note this new negative probe offset, in my case -2.8.
Now, go to the configuration - Probe Z Offset menu and set this value to the probe offset, so I am going to set it to -2.8.
Then, in the configuration menu, use the store settings item to store that new offset into the EEPROM.
Now, do an auto home again.
And now, back in the Move-Z menu, the new starting value should be the original offset + the absolute value of the offset, so in my case it's 12.8.
If you now bring down the nozzle again to 0.0, it should be exactly at the desired distance where it grabs the paper. If not, change the z-offset setting accordingly and repeat this test.
Next, I wanna do a final check if the Auto Bed Leveling command does what it should.
So let's send the printer a G29 command or we can also invoke the Level Bed function from the Motion - Bed Leveling - Level Bed Item to start a bed leveling.
The printer now probes in the 9 points, I have configured in the firmware. You can also see that my printer only probes in the front two thirds of the printbed because the probe is pretty far in front of the nozzle and the printbed cannot move further to the front than this. I will probably switch out this probe mount for another one that brings the probe closer to the nozzle so the probing area is going to cover more of the bed.
Finally, what you need to do is to enable bed leveling in the start gcode of your slicer software by adding the G29 command in a new line after the G28 command.
Now, you should be ready and set up to use auto bed leveling in every print.
Next up in this series, I'm gonna cover the TFT 35 Color Touch Display installation, so make sure you don't miss that video, and I've also linked two other videos here in these two cards for you.
See you soon back on the channel. Bye bye.