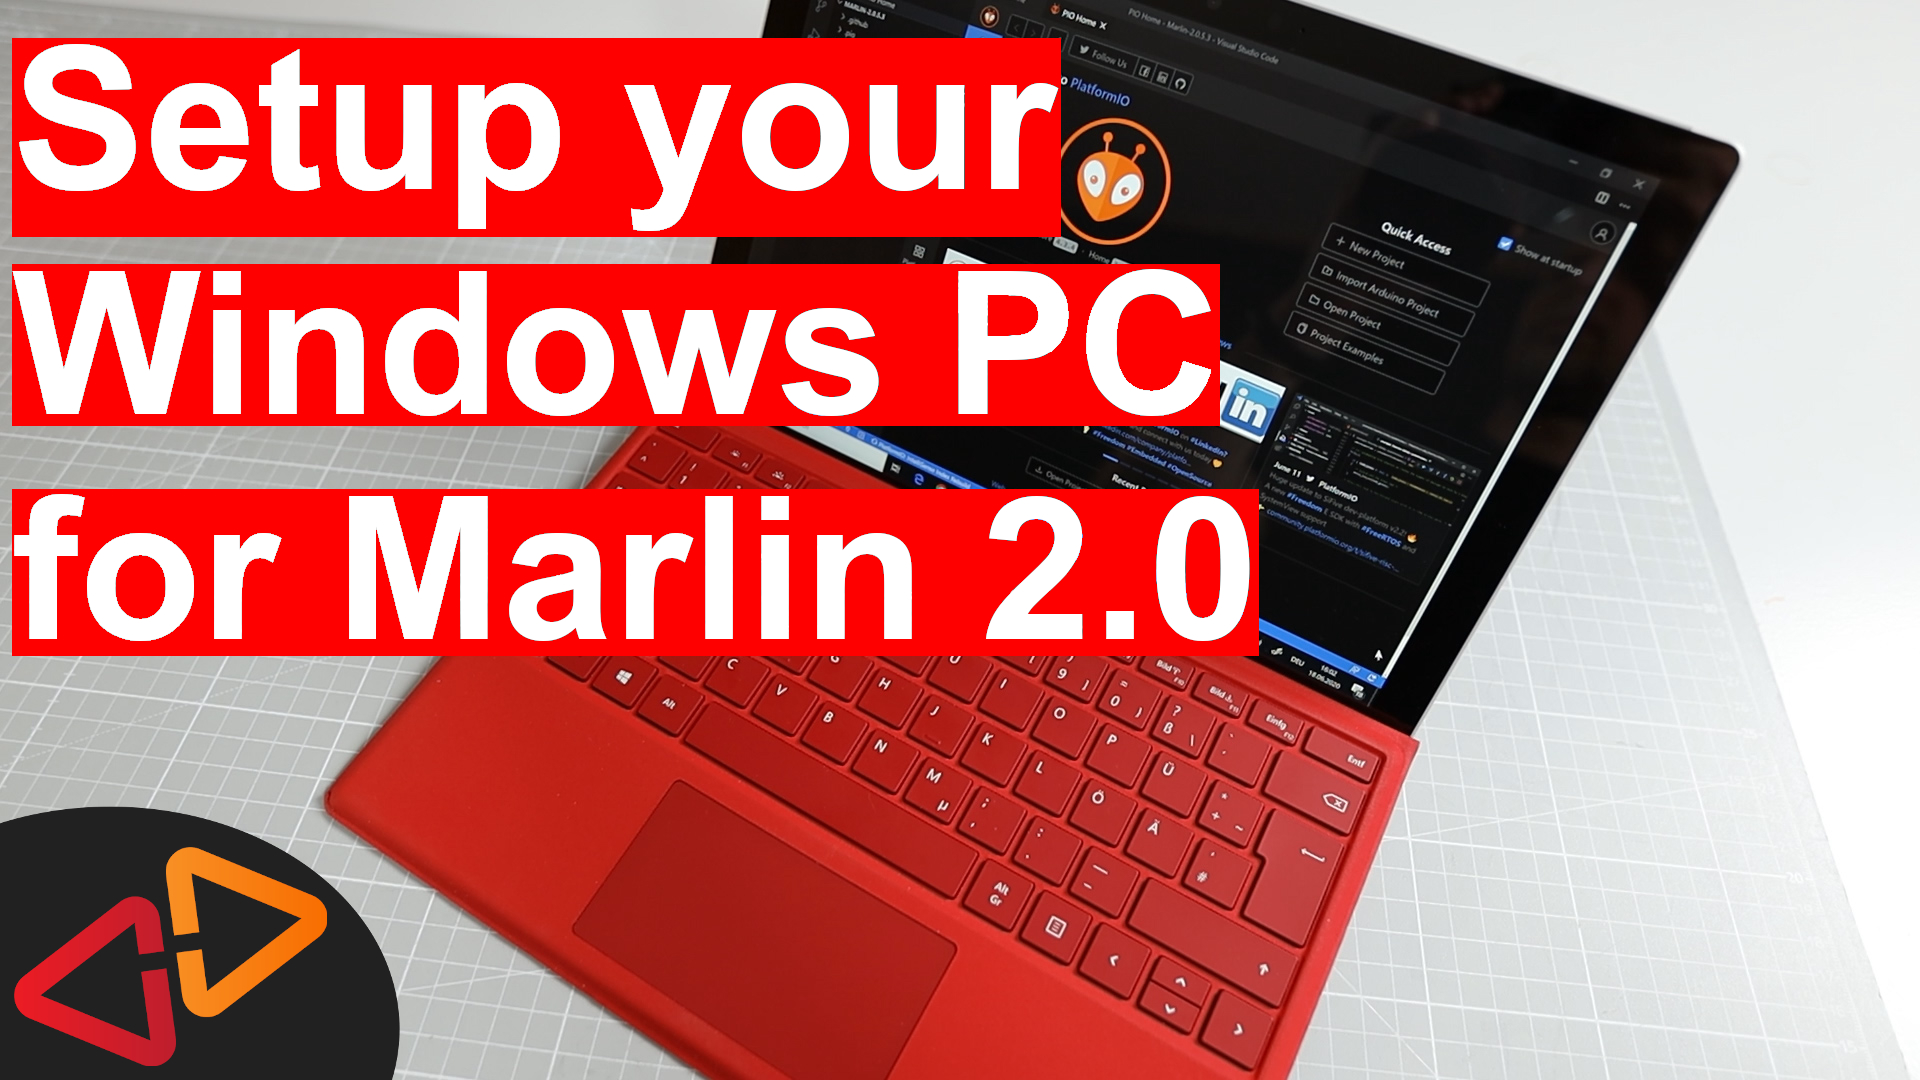
In this video, I'll walk you through the steps for configure your PC to compile Marlin 2.0 firmware.
Hello, my name is Daniel, welcome to the CrossLink channel. Our mission is to help 1 million people getting more successful with 3d printing and if you're here for the first time, subscribe and enable bell notifications so you don't miss anything.
So, you wanna compile Marlin 2.0 on your Windows PC, this video is about how to setup your PC to be ready to do that, let's get into the video.
As usual all links to external documentation and software that I'm referring to are linked in the description of this video.
So, first step is to install visual studio code from www.visualstudio.com.
Make sure you don't select any of the other options like visual studio full featured or visualstudio for mac. Visual Studio Code is the thing that we want.
So select Download Visual studio code then selecting the Windows x64 installer.
Just a few quick tips while your're doing the installation. I would actually select to enable all these options like open with code for the windows explorer because that will make things easier later if you like to edit code files quickly or start vscode directly from a folder.
After installing visual studio code, you need to launch it for the first time to make the next steps.
Open the extensions tab on the left hand side of the window.
In the search field, enter "platformio" and then select "PlatformIO IDE" from the results list.
Now, click the "Install" button and wait until the installation process is finished. Don't launch any other installation at the same time and make sure, you don't close visual studio code until it's done installing.
There might be a message saying "Please restart VSCode" after the installation. If you see this, please close Visual Studio Code and launch it again.
After the installation is finished, click on the extensions tab of visual studio code again and search for the extension "auto build marlin".
Install this extension by clicking "install".
Now you should have Auto build marlin and PlatformIO IDE in the list of installed extensions.
Next, we wanna do a final check if we can compile Marlin firmware with this setup.
The contents of your marlin source folder should look similar to this. Here is the platformio.ini file that indicates, this is a platformio project.
Now, there is two ways how you can open this project. First you can just right click anywhere in the whitespace of this folder view and select "open with code".
You did select that option during the installation did you?
And the other way to to it is open up visual studio code. Then open the folder tab and click open folder and now you need to navigate to the folder where you just unpacked your Marlin sources and then select the subfolder where the platformio is in and all the other subfolders and then say select folder.
Now finally, open up the Auto Build Marlin tab, that should be here in the left menu shown as a Big "M".
And then move your mouse cursor into this upper section to make those different icons visible. So now you can either directly click the build button here in this section or first show the ABM Panel, that's the auto build marlin panel.
Now, depending on the configuration that you might have, there will be different environments available here and if there is more than one environment to select from and you hit that build button, you will also get a notification that you have to select one environment first to compile it.
So for showing this, it's not really important what environment I use, I'm just going to show you what should happen if you click one of the build buttons so let's use the mega2560 as an exampel - Auto Build Marlin will start the corresponding build and should come out with a success message at the end.
So you're now ready to compile Marlin 2.0 on your PC. I've done a bunch of videos about how to configure and upload Marlin 2.0 for different printer models and mainboards on my channel, so check them out if you like.
Thanks for watching - see you next time