The first 1000 people to use the link will get a free trial of Skillshare Premium Membership: https://skl.sh/crosslink02211
🛒 Get the Ender 3 Pro here: https://geni.us/ender3pro
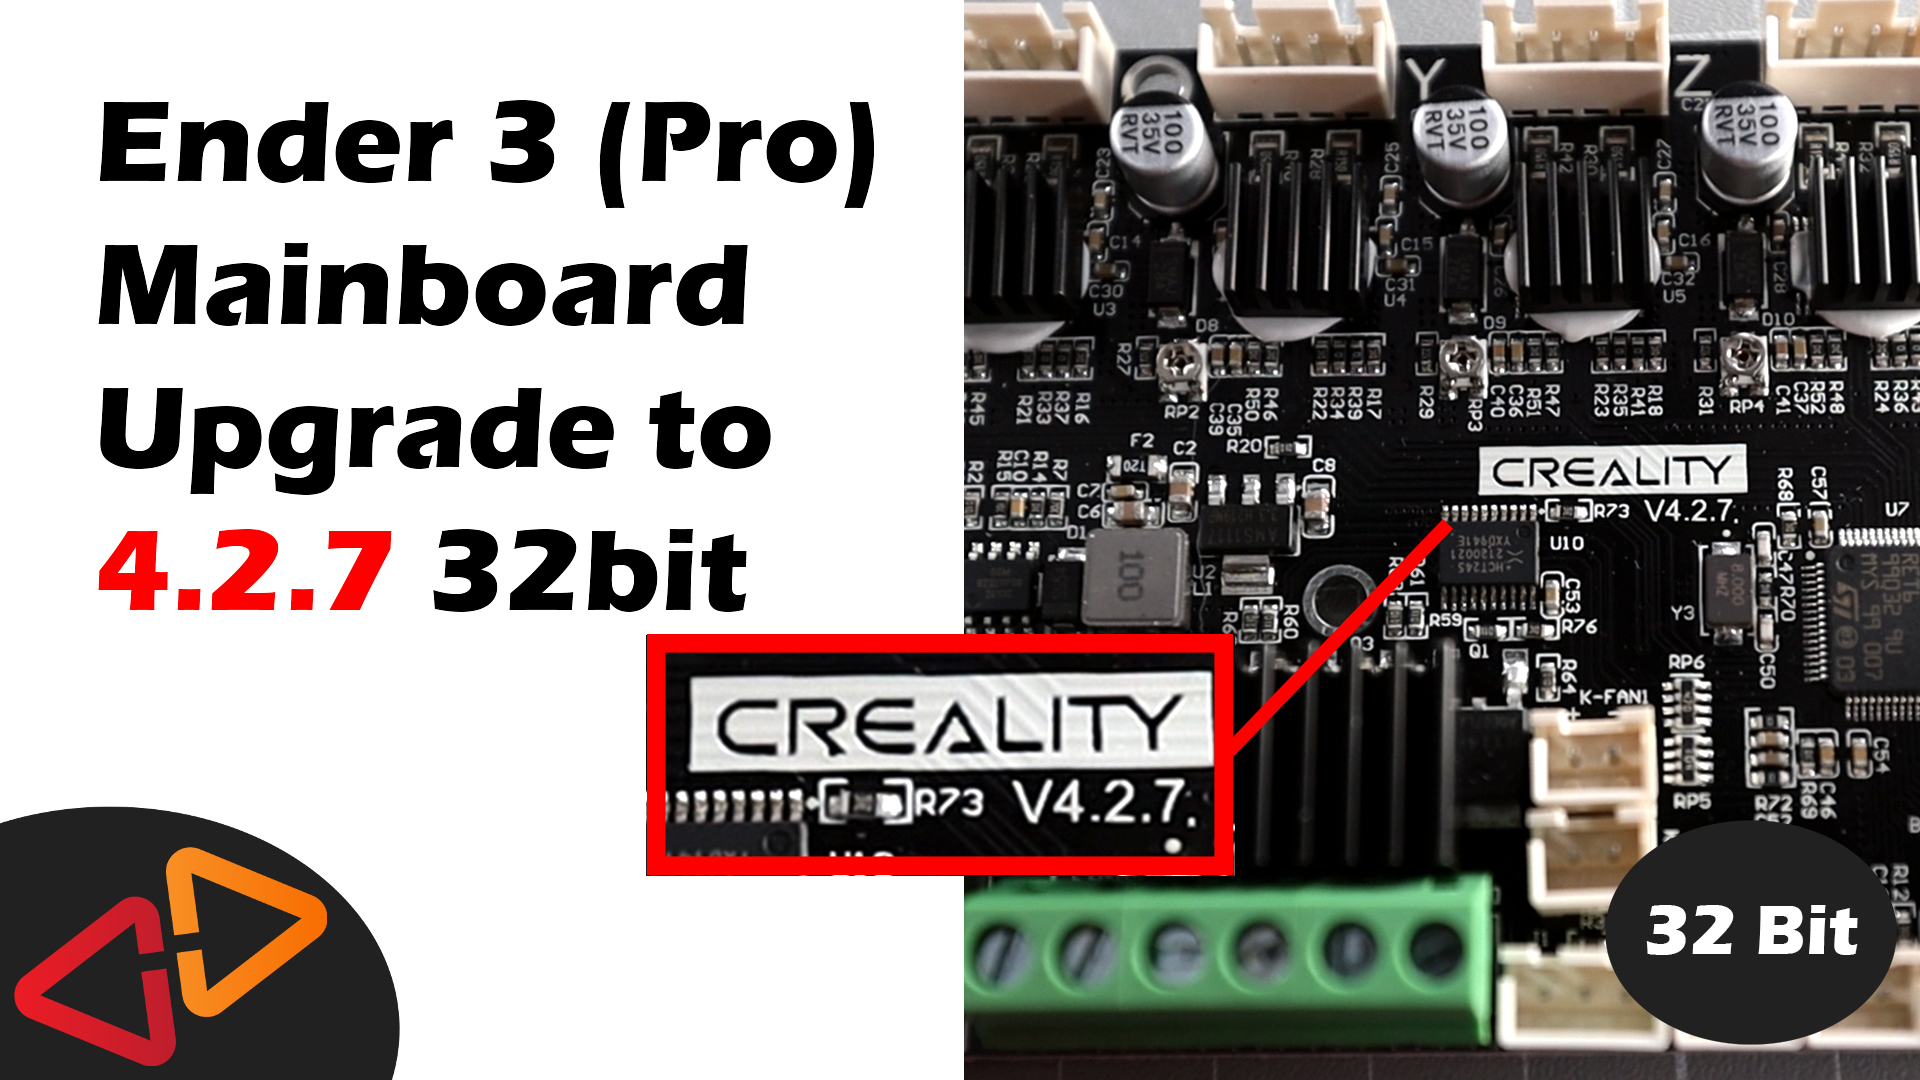
🛒 Get the Creality 4.2.7 board here: https://geni.us/creality32bit
Daniel Crosslink, welcome back to the for another guide. Here you will learn how to install the new 32 bit Creality 4.2.7 mainboard with silent stepper drivers in the Ender 3 or the Ender 3 Pro.
So, I will have a few words about the motivation to do this first.
You've probably heard about it - Every 3D-Printer manufacturer is nowadays putting 32 bit mainboards into their new models. It's pretty much time to acknowledge that 8 bit boards have no future and will have disappeared from the market very very soon.
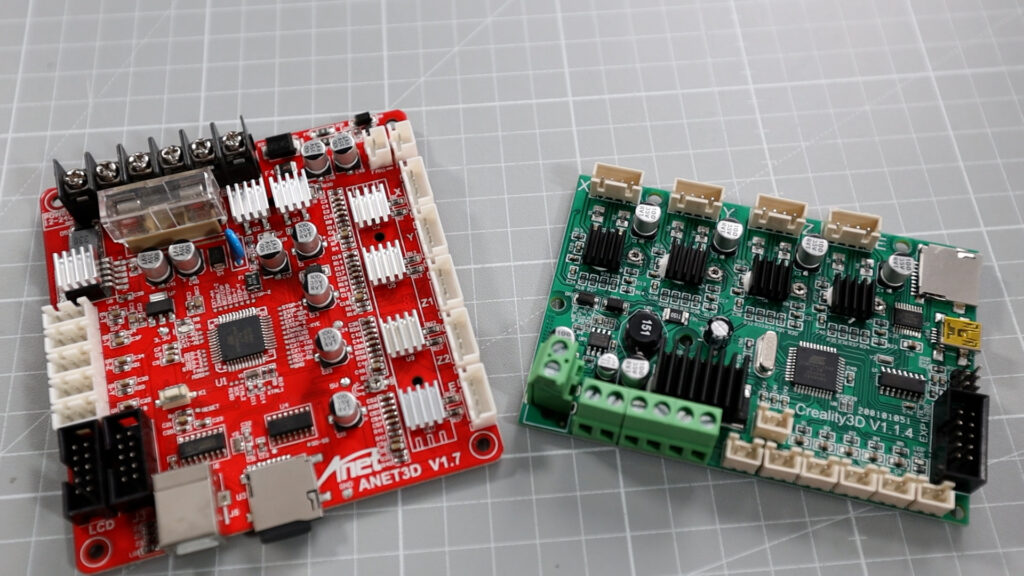
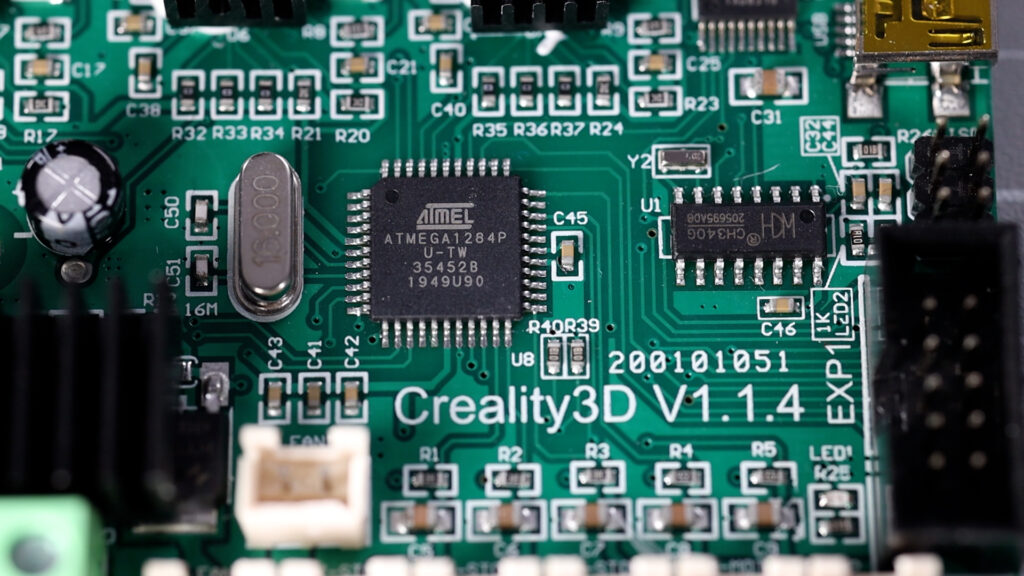
If you know this channel for a bit longer, I've made all kinds of videos about firmware upgrades for the Anet and Creality 8 bit mainboards.
This era is coming to an end, so don't be wondering why I'm not updating my old videos anymore. I've said it before, 32 bit is the way to go.
Now, about the Ender 3 Pro. I've bought it probably a year ago and at that time, Creality didn't deliver it with the 32 bit mainboard that is now becoming the standard.
Since there is still quite a lot of you out there who are still on the 8 bit 1.1.4, 1.1.5 or similar mainboard versions, I am showing you today how to swap out that old mainboard for the brand new Creality 4.2.7, so let's get into it.
By the way, this will also work for other Creality printers because in theory the only difference is going to be the firmware you need to install once the mainboard has been swapped out.
First, let's start with the preparation steps.


Unload the filament, so any spool still on the holder is out of the way.
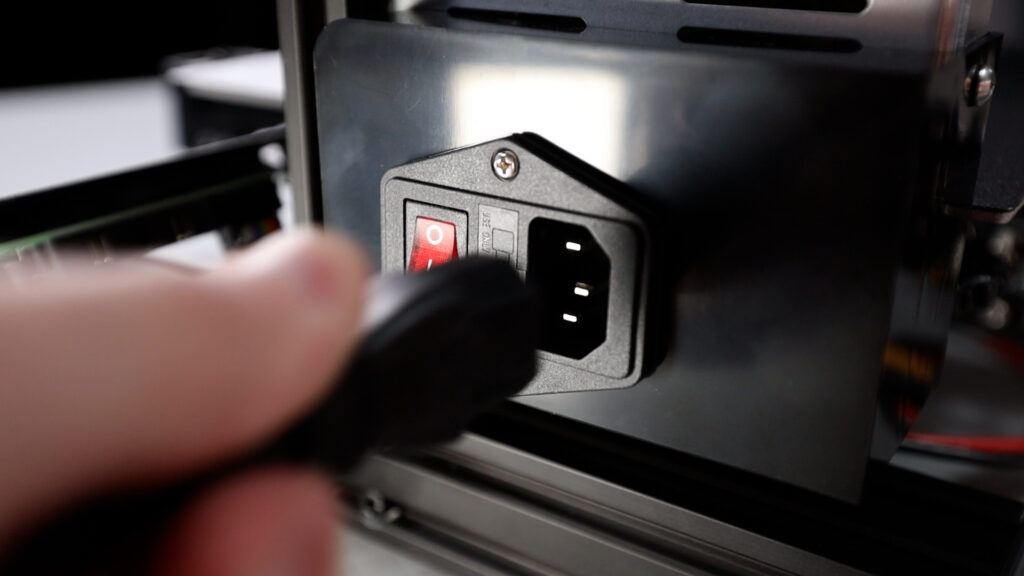
Disconnect power and any other cables connected to the printer.
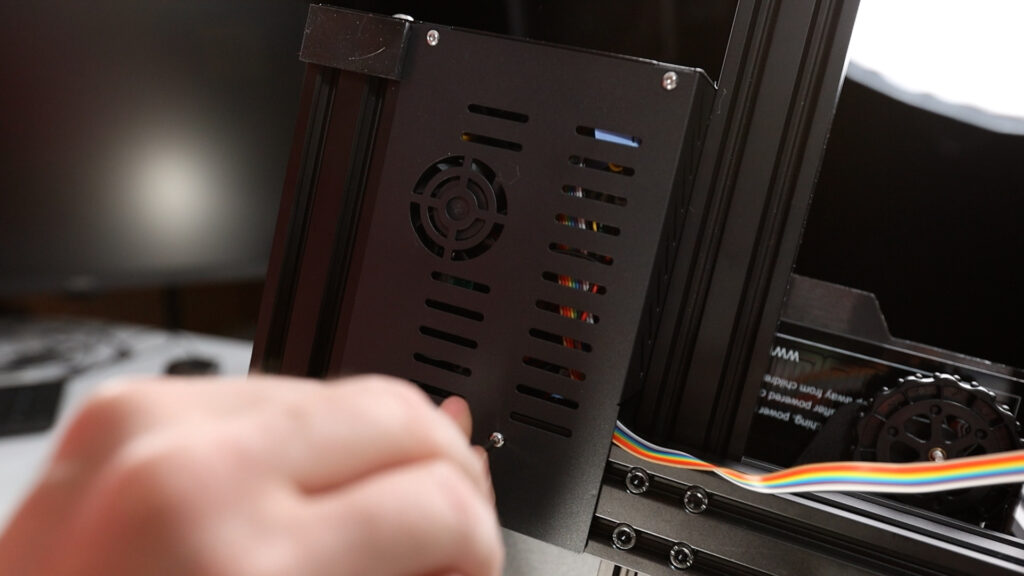
Open up the electronics case. There is one screw to remove at the top of the case and three at the bottom. If you're doing this for the first time, they might be bolted in quite firmly.
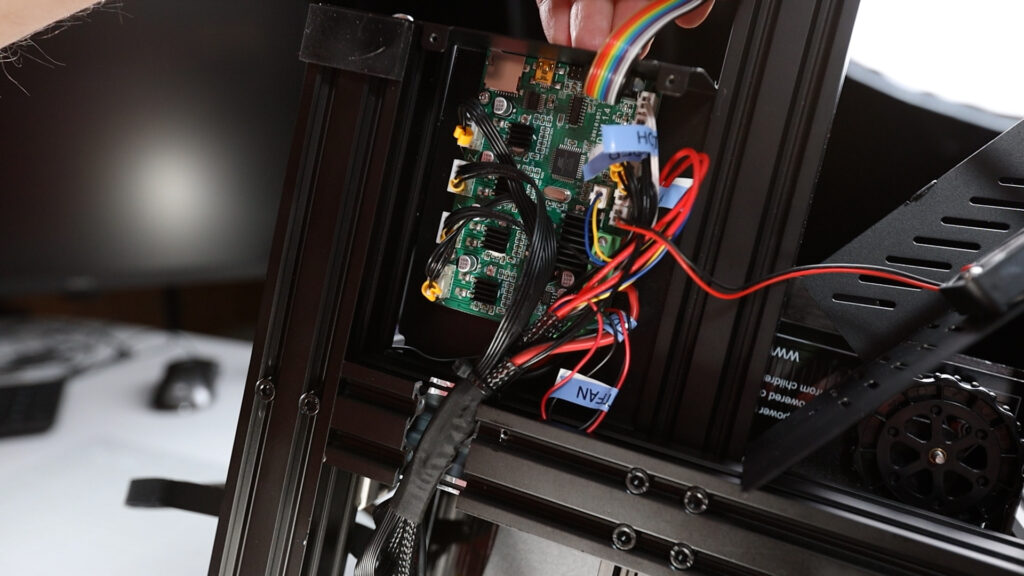
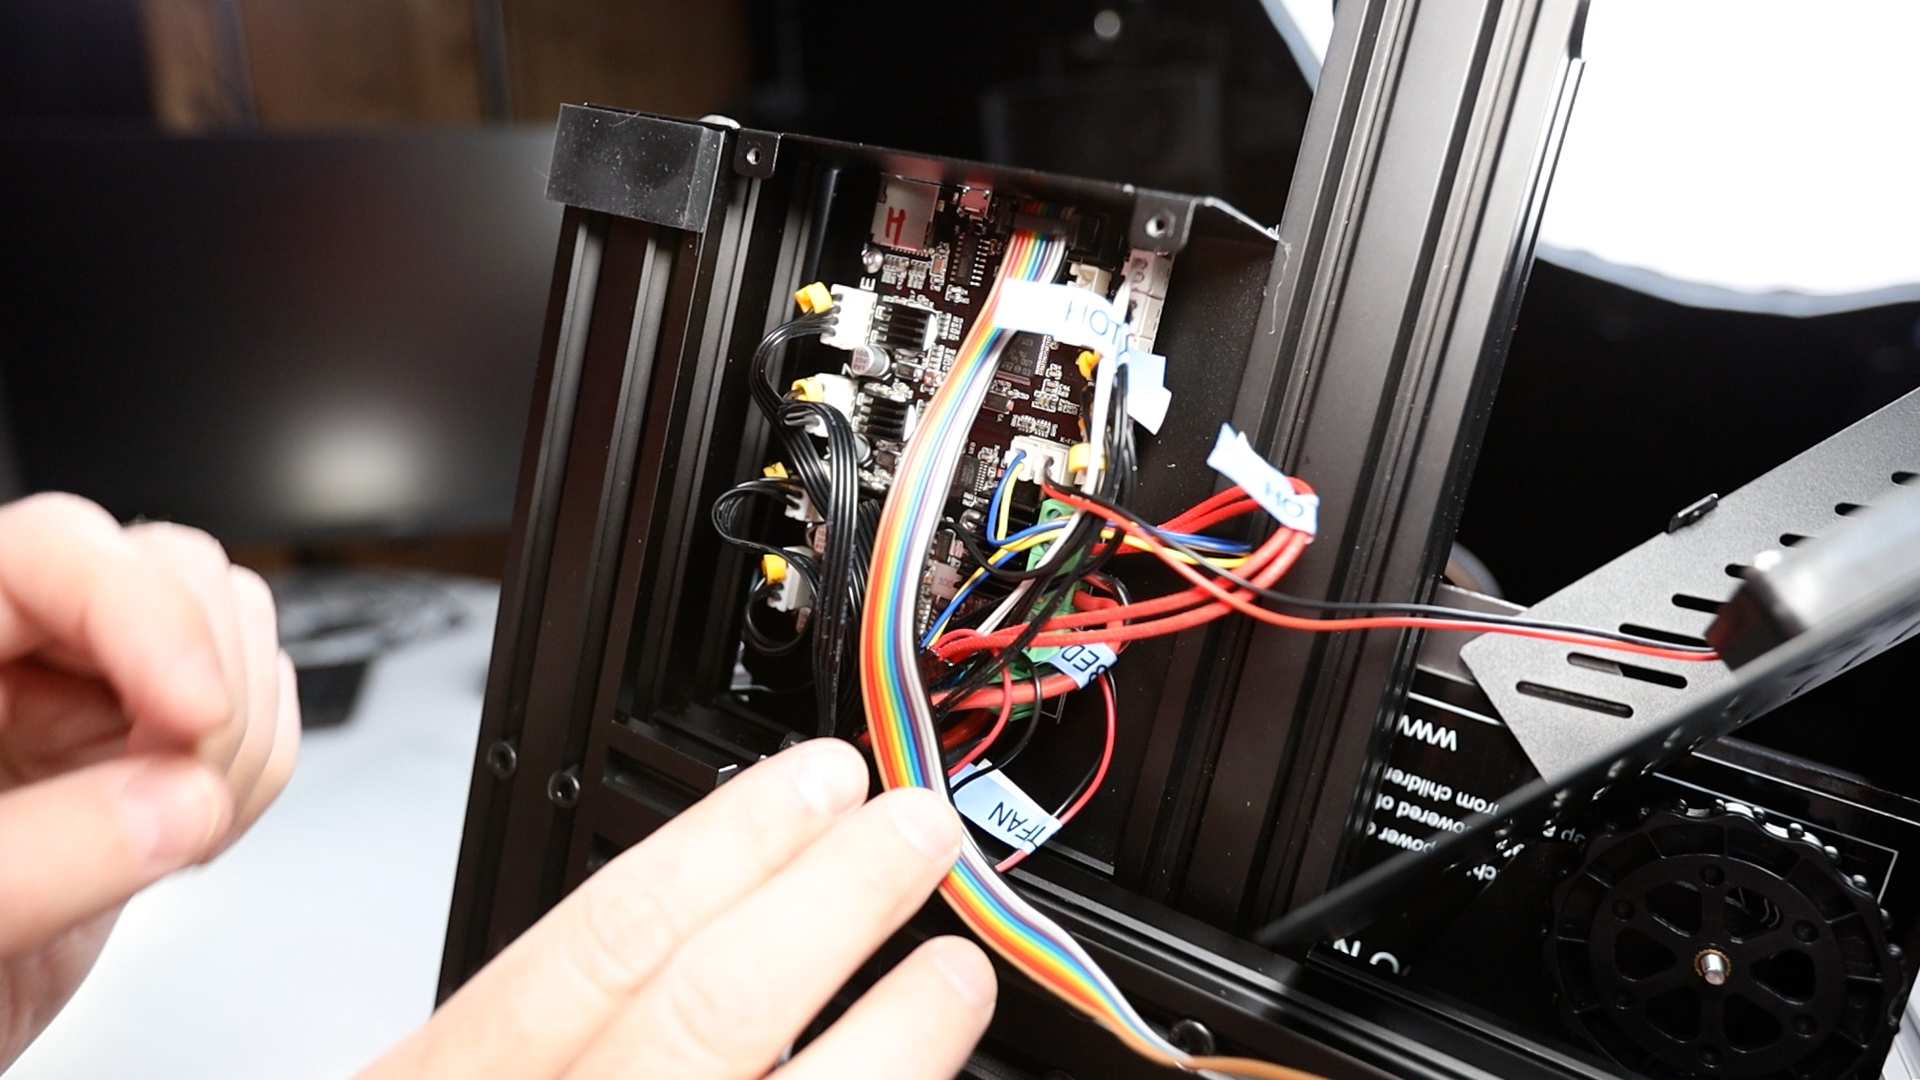
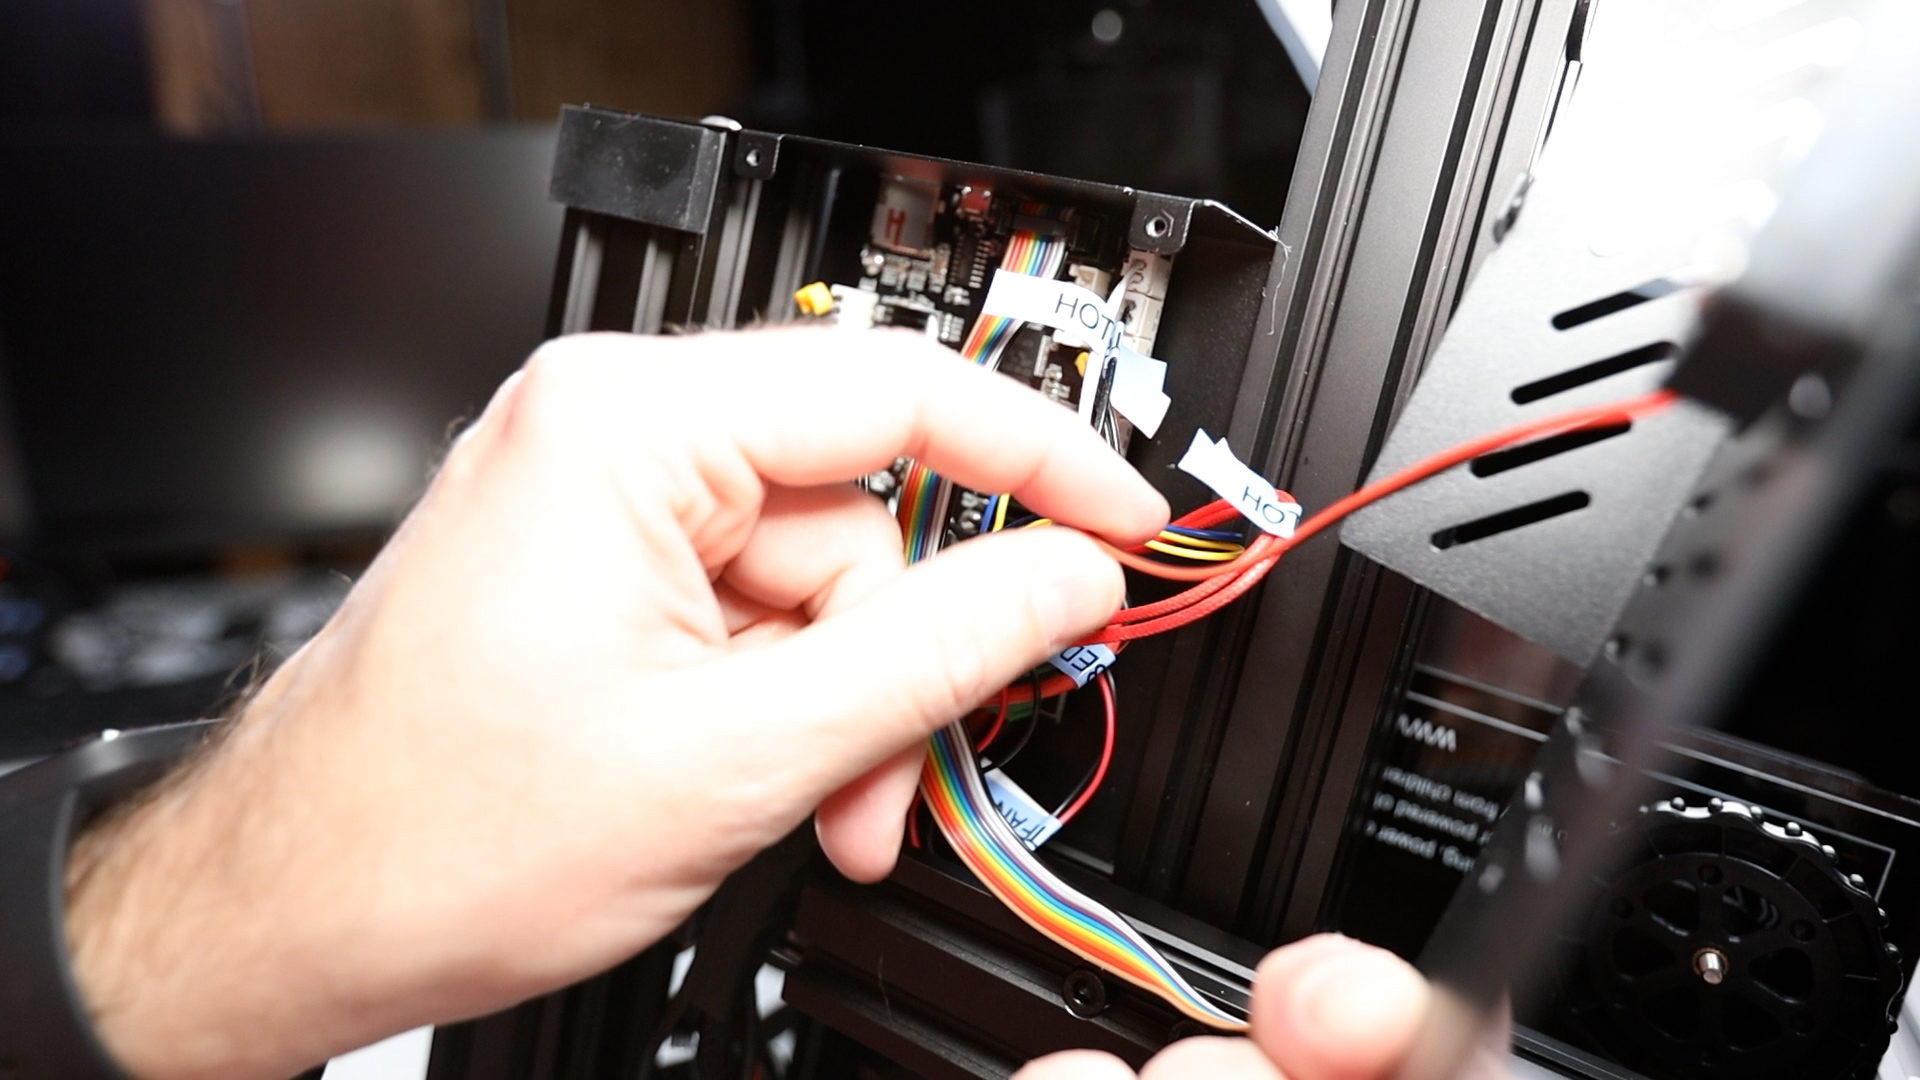
You can now see the mainboard. What I would do just to make sure you don't confuse anything later is to mark your cables to remember where they belong.
The stepper motor cables have these little helpful labels but the fan cables and the heater and sensor cables mostly aren't labeled so make your life easier and put some labels on those, too, maybe take a photo just in case.


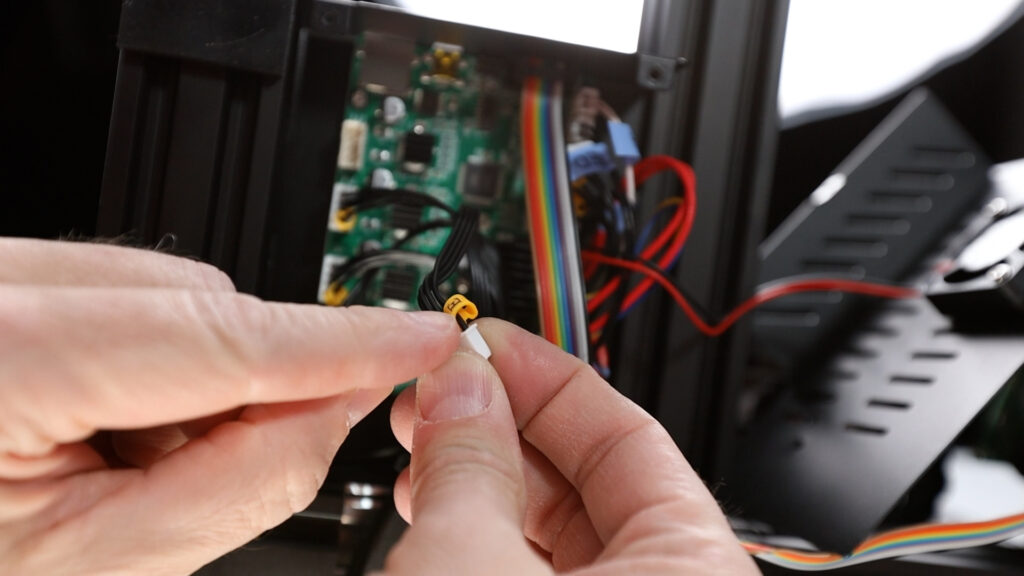
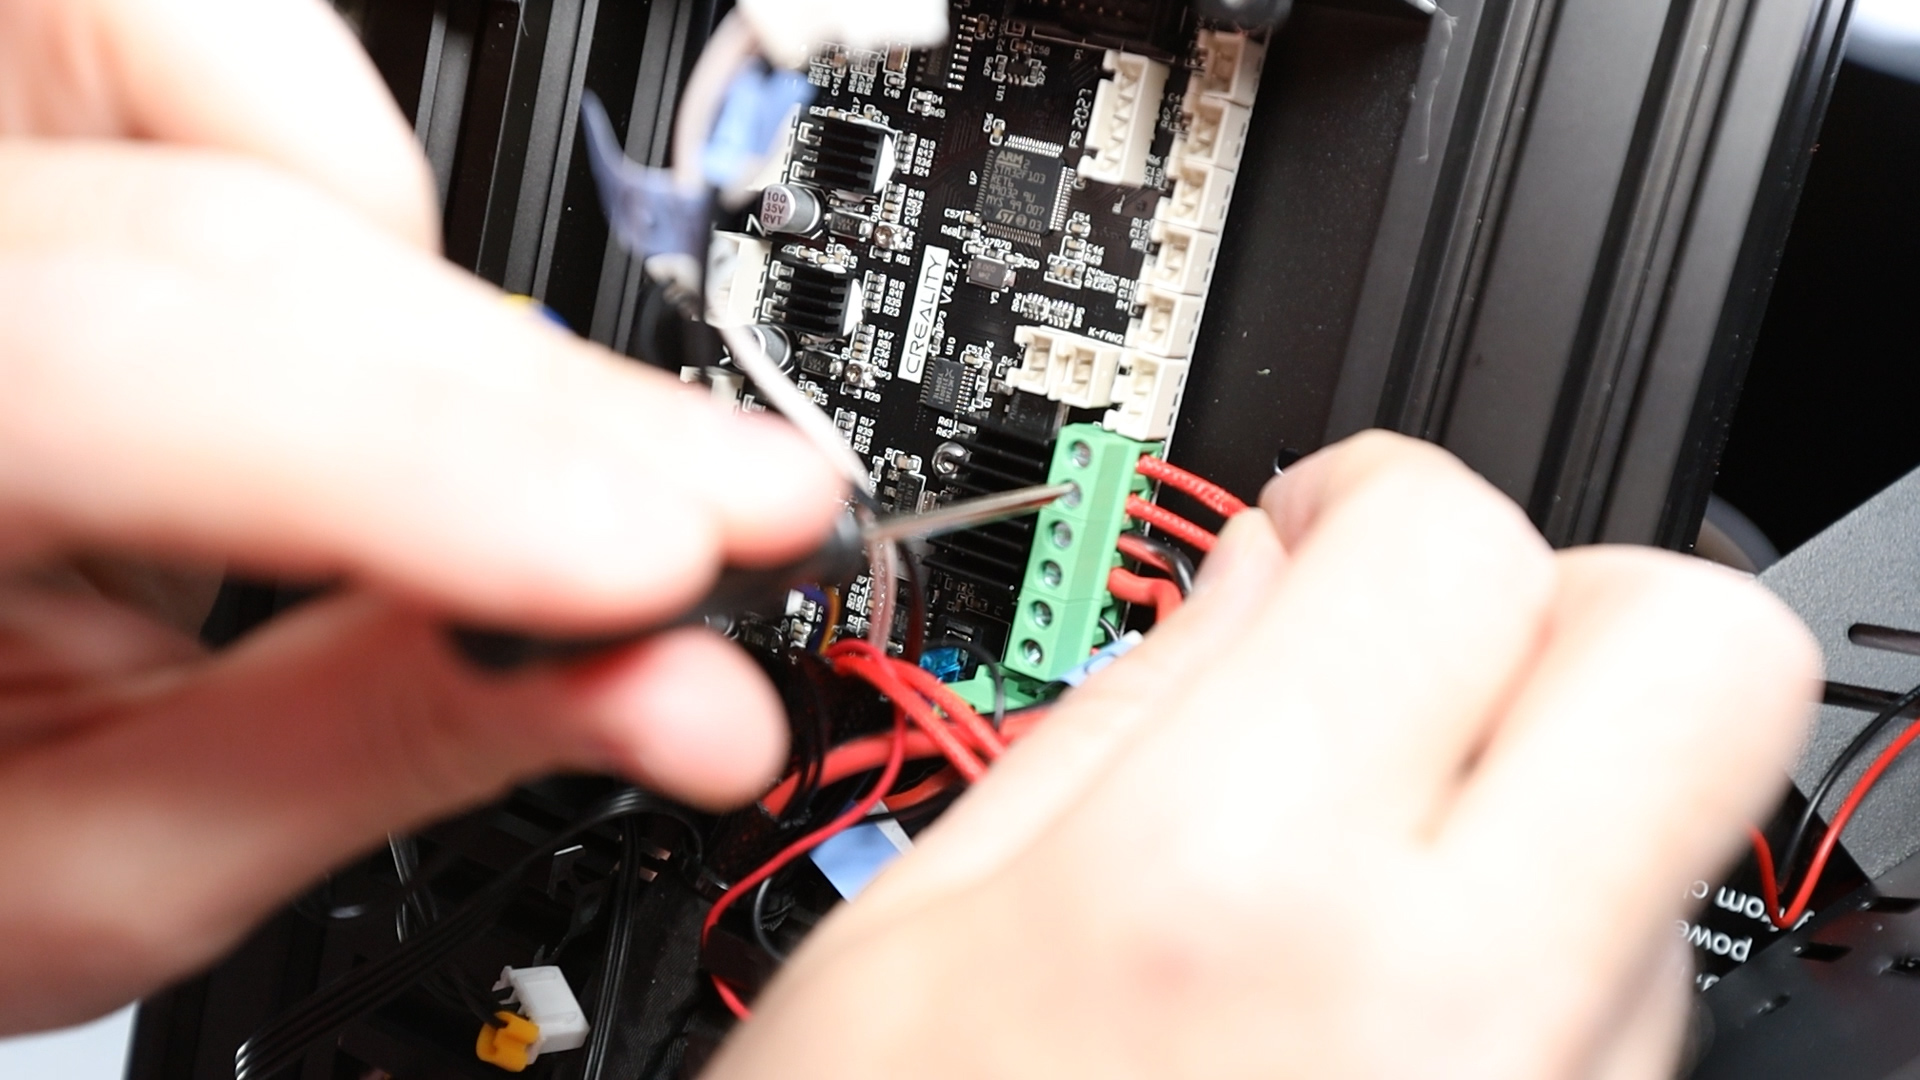
So we're now disconnecting all cables from the mainboard. Some of them are also screwed into terminals.
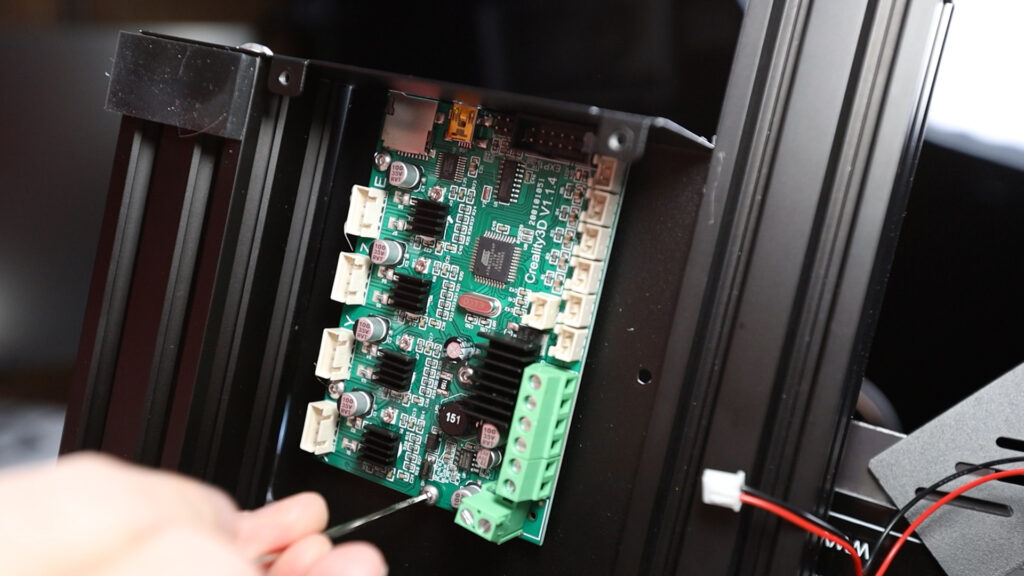
Finally remove the mainboard from the case by releasing the four screws that hold it in place.
Our next step in the mainboard swapout is to mount the new mainboard to the electronics case.
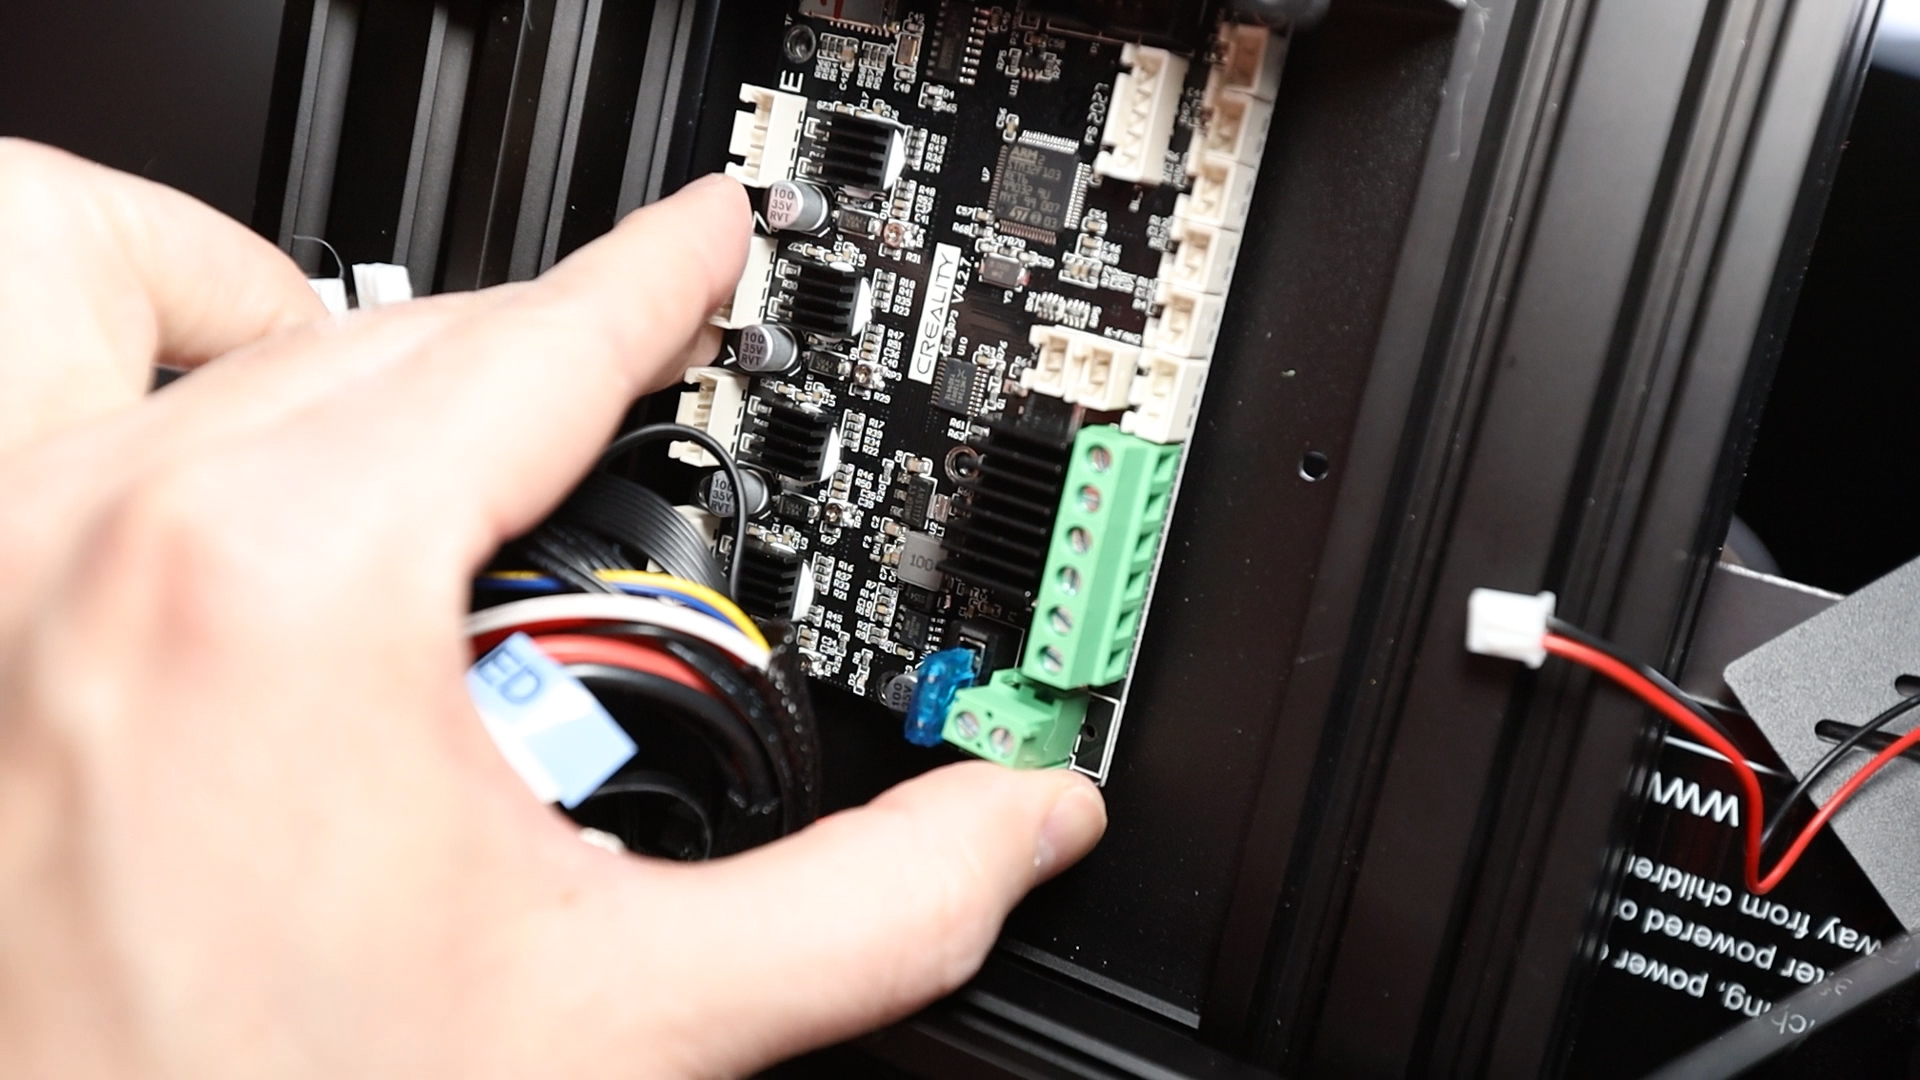

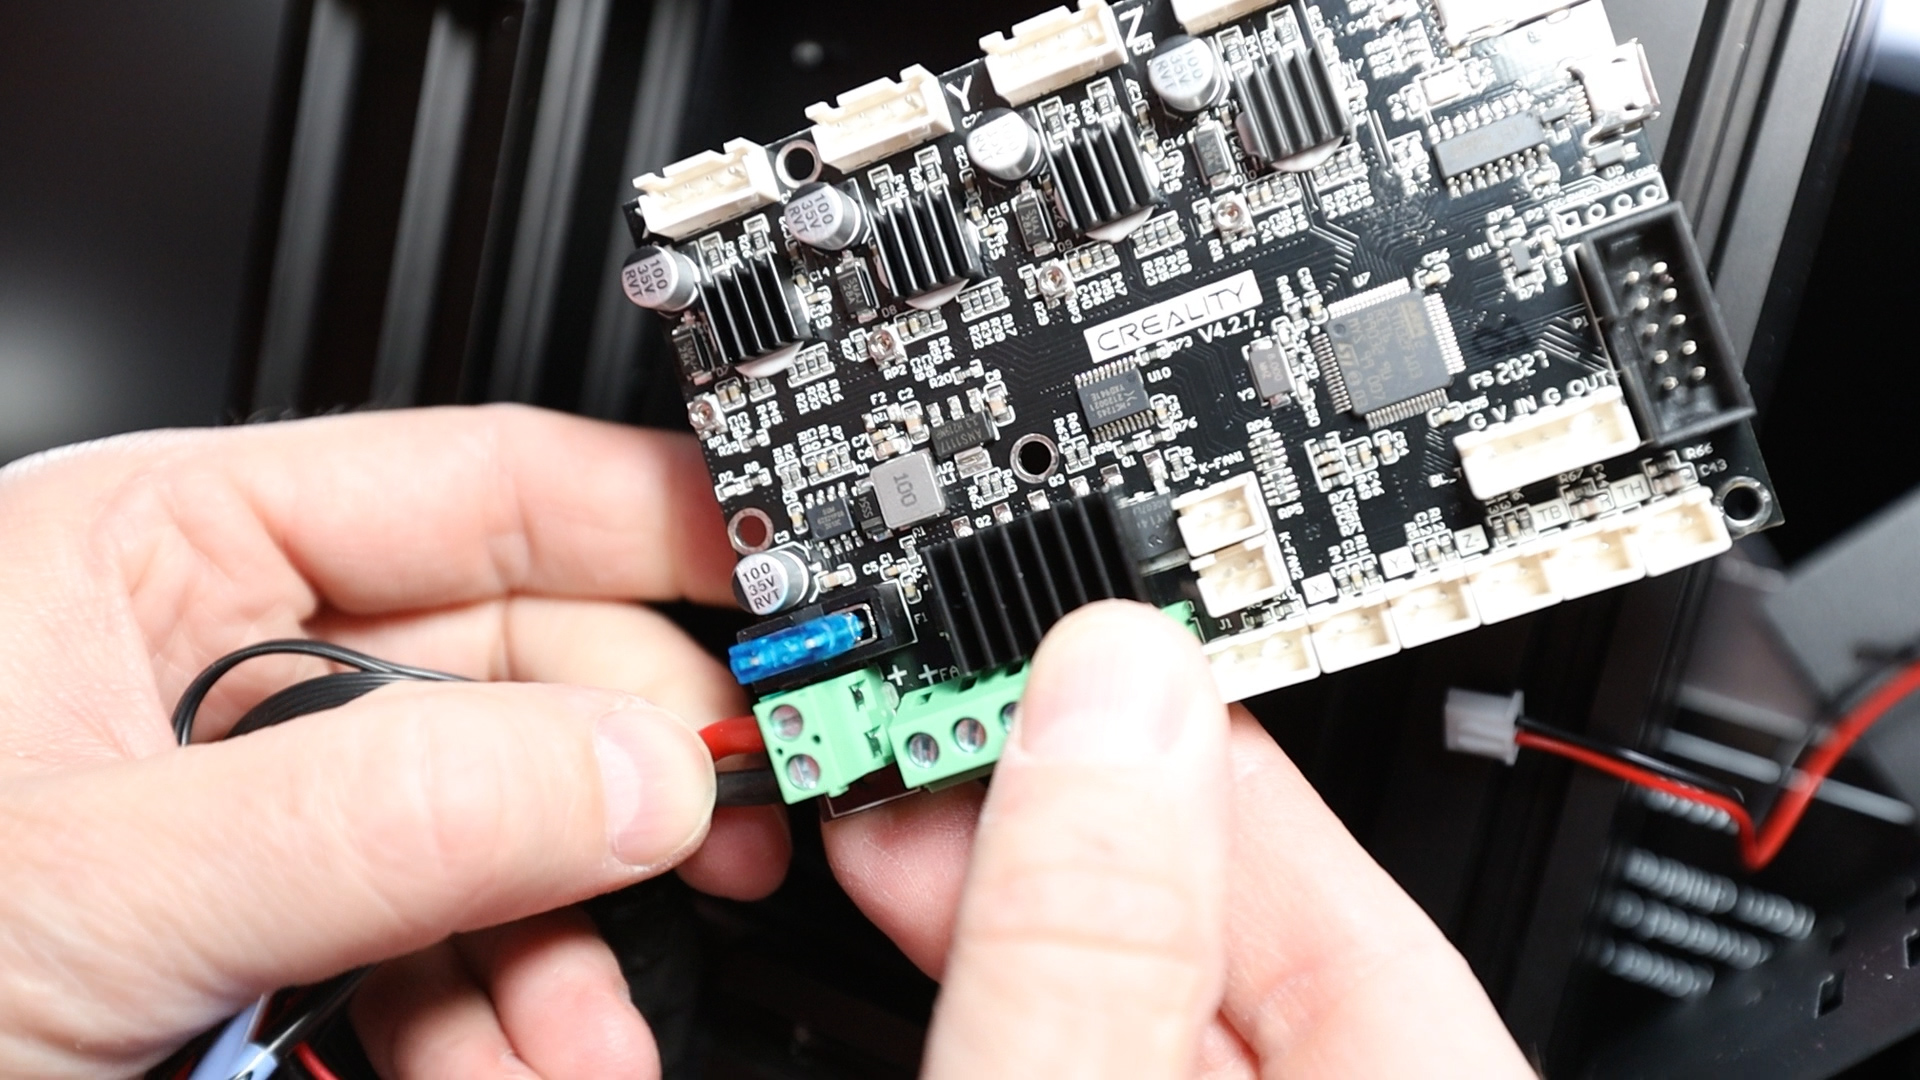

It fits in the same place as the old mainboard - but since the power cables are probably the hardest to re-insert into the terminals because they are quite short at least in my case, I am starting to attach them first. Please double check the right polarity of those cables, so the red cable goes into the plus and the black into the minus terminals. You find that information on the backside of the mainboard.
Now since this is done, I can mount the mainboard back to the case and tighten the screws.

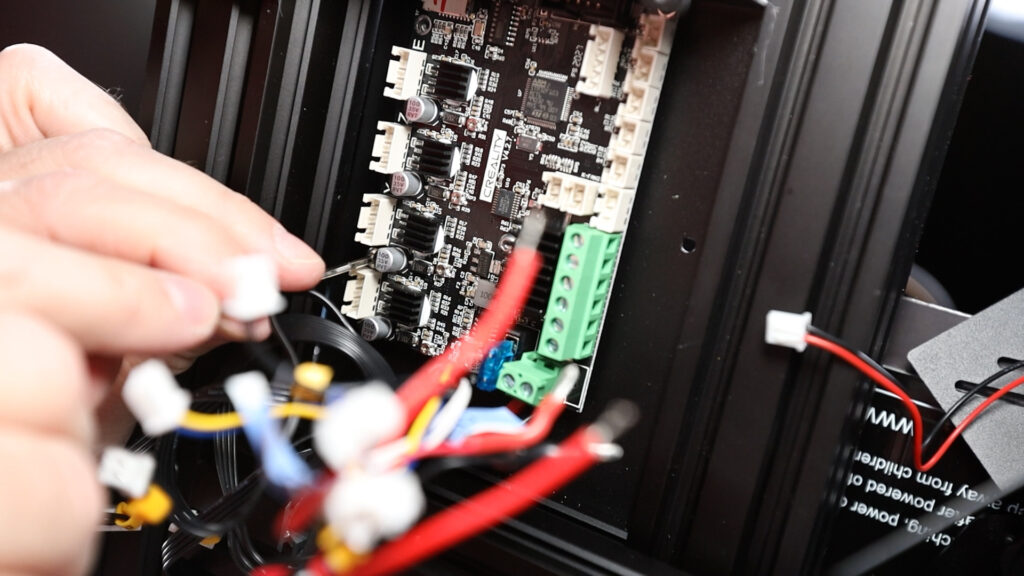
Next up, I'm connecting all the remaining heater and sensor cables and finally the fans and the stepper motors.
We should now be ready to close the electronics case, don't forget to connect the case fan and also any external cables like the display cable, bltouch, filament runout sensor or what you might have already.
Now, you might be tempted to turn on the power already. I wouldn't do this because I don't know if and what firmware might be on this mainboard.
So I would recommend rather to get the latest firmware for your printer and copy that to the SD card to insert this before you power on so you can be sure that the right firmware for your printer will get installed, so let's get this done.

For the Ender 3 Pro as an example I will go to creality.com, and then head over to the Support → Download section.
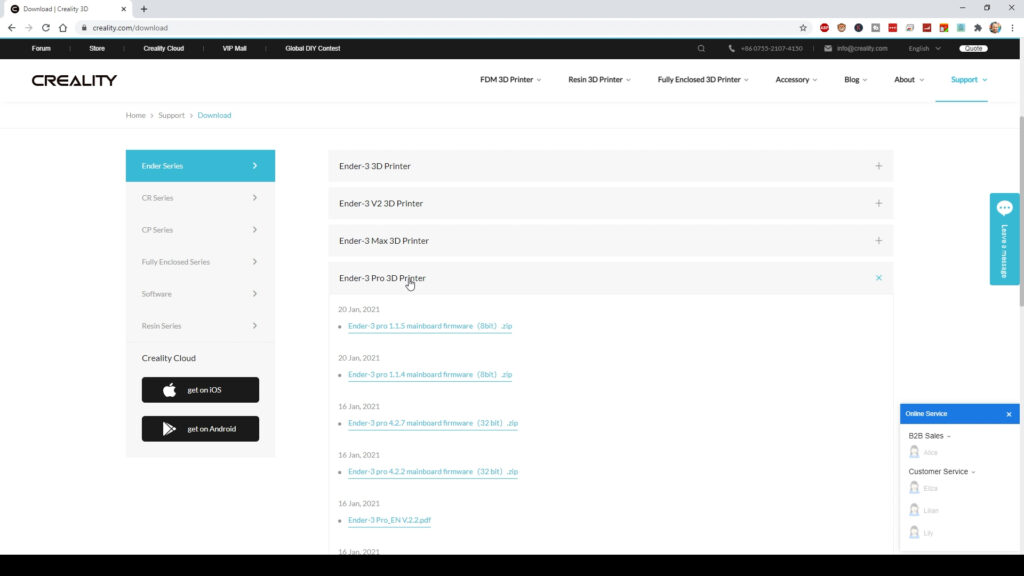
Select the Ender 3 Pro to see all available firmware versions.
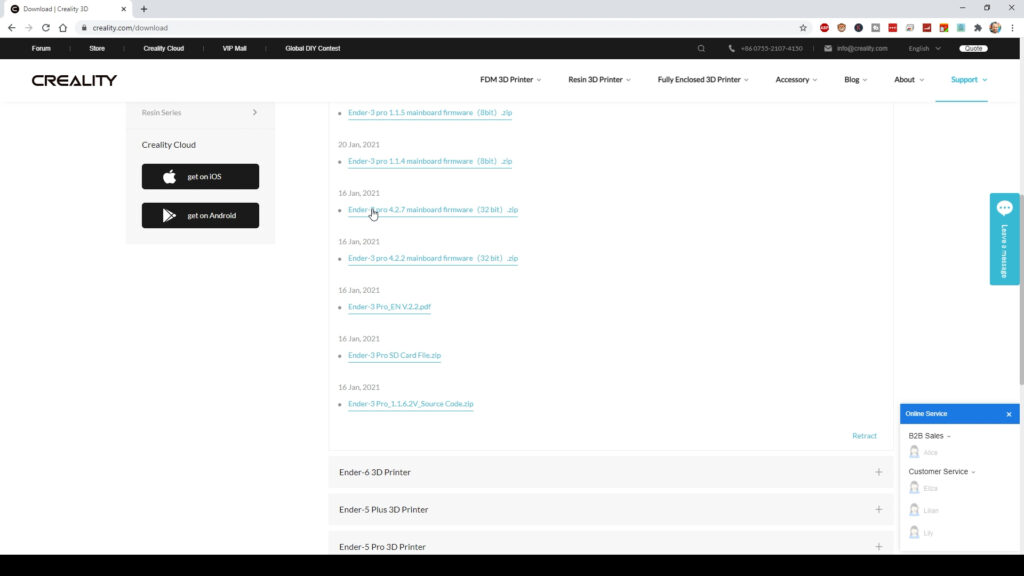
Here we have the Ender 3 Pro 4.2.7 32 bit firmware, which should be the right one for this printer and mainboard combination.
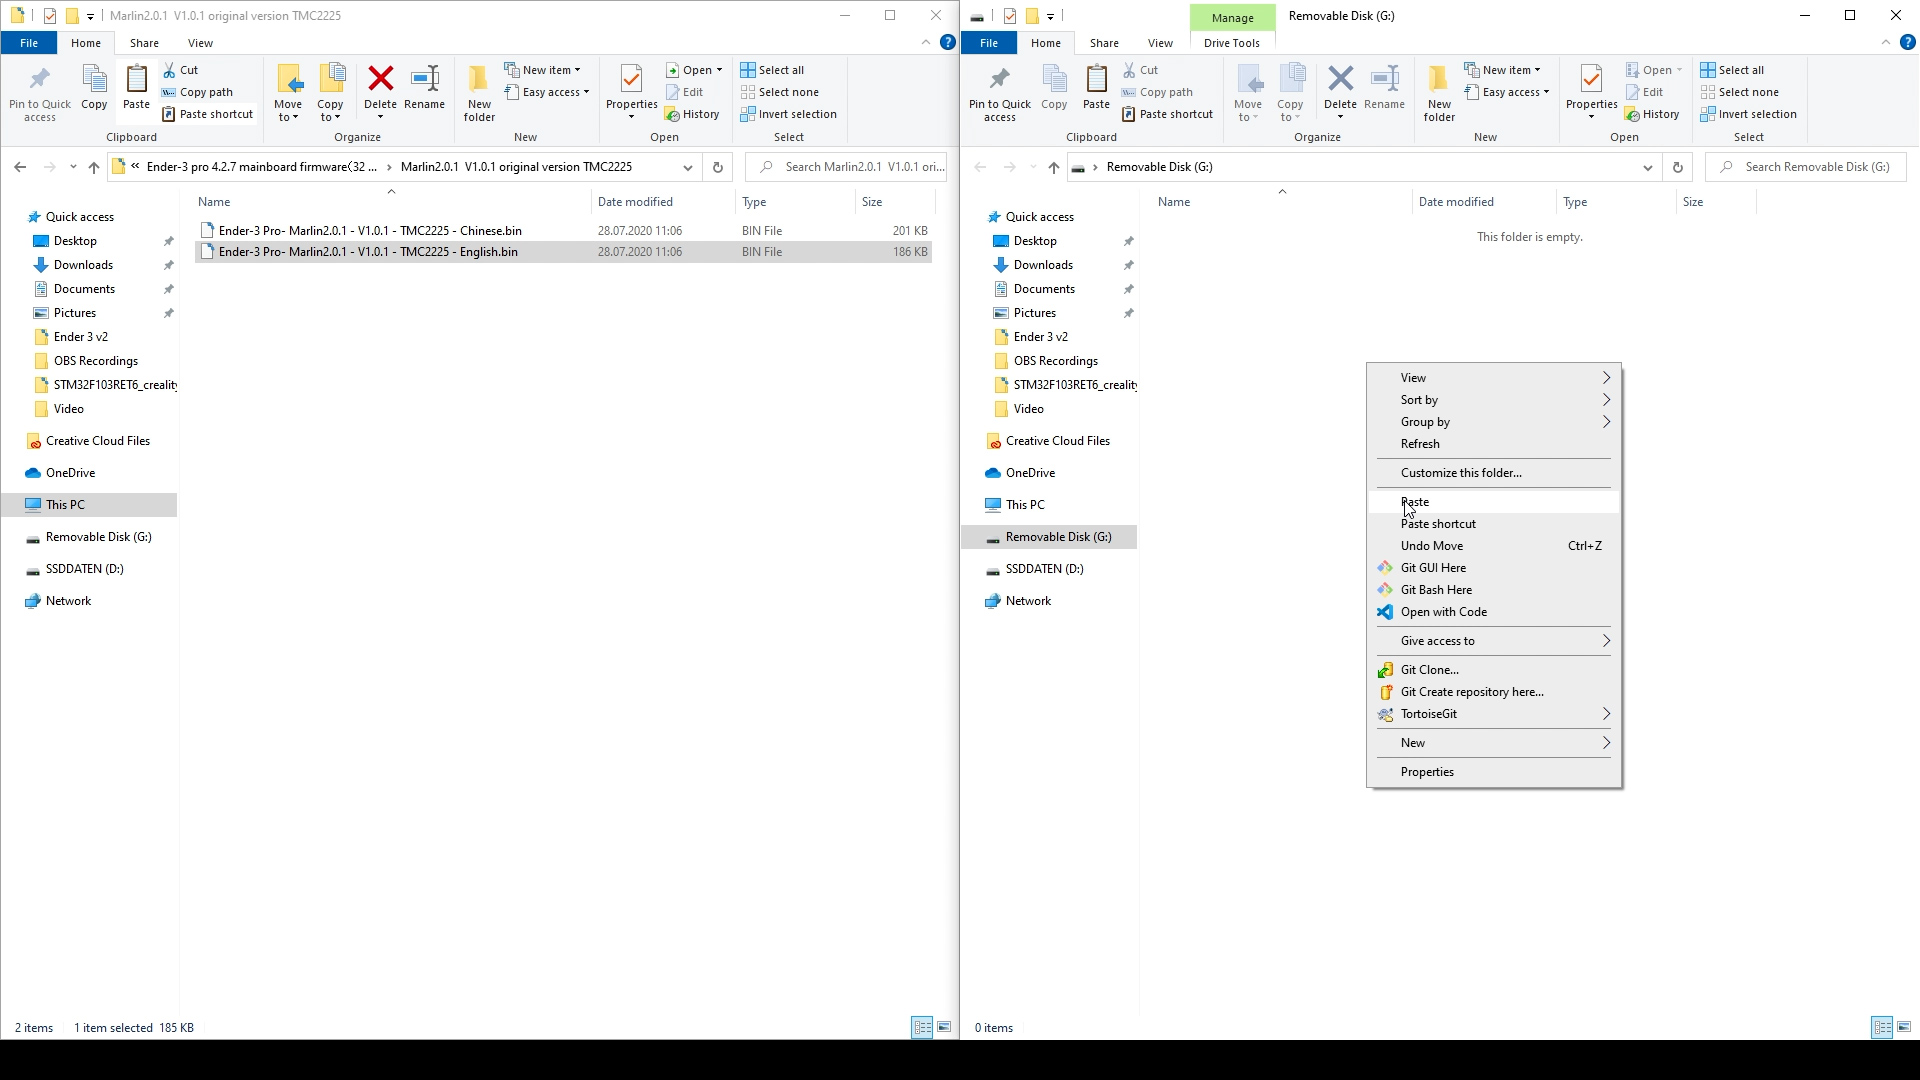

After downloading and unzipping this file, you can copy the contained bin file to the SD and put it in the printer before turning on the power.
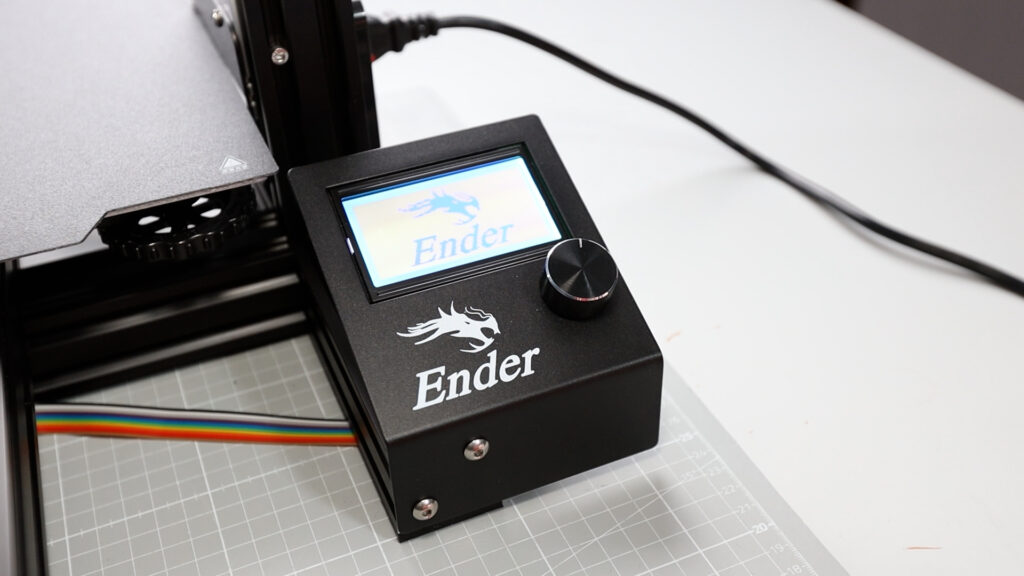
Now the mainboard will check for new firmware on the SD card and will install it and then reboot.
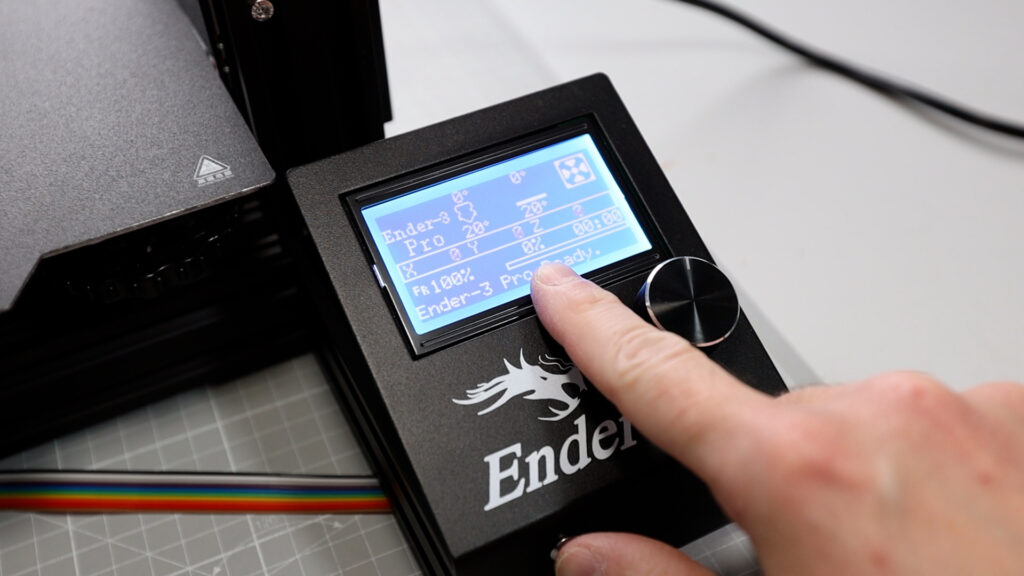
And telling from the screen it seems to work. From here, I would highly recommend to calibrate your printer's x-y and z steps and the extruder esteps for the best print quality.
I've made two videos that explain in detail how to do this on any 3D printer in general.
And then you should be ready to start printing with this new mainboard.
If you liked this guide, then you might be interested to watch more content on my channel and I will see you in the next one - Bye!
THE PRINTERS I USE: https://kit.co/danielcrosslink/the-3d-printers-i-use
MY MERCH: https://www.crosslink.io/shop
BECOME A PATRON: https://www.patreon.com/crosslink
CHAT ON DISCORD: https://discord.gg/ne3J4Rf
BUSINESS INQUIRIES ONLY (OR IF YOU WANT TO SEND SOMETHING) - DANIEL@CROSSLINK.IO
FOLLOW ME:
INSTAGRAM - https://instagram.com/danielcrosslink
TWITTER - https://twitter.com/danielcrosslink
FACEBOOK - https://facebook.com/danielcrosslink
WEBSITE: https://www.crosslink.io
The Music I use: https://www.crosslink.io/es, AMAZING for YouTubers!
GEAR USED
https://kit.co/danielcrosslink/my-video-gear
Disclaimer: As an Amazon Associate I earn from qualifying purchases.